2. Install Rails
Once Ruby is installed you need to install Rails. Simply open up the command prompt or Terminal app if you’re using Mac OS. Check if the system path is proper by querying the ruby version by typing “ruby -v” without the quotes. The prompt should display your current installed version number, if not then add the path to the binaries in the system variables tab.
Now if Ruby is installed properly, move onto SQLite3. If you’ve downloaded and installed it properly then it too should appear in the path. Query the version to make sure it’s installed properly by typing “sqlite3 –version” without the quotes in the command prompt.

Blue – Ruby, Red – Javascript & Yellow – PHP trends over the years
If everything worked out fine then installing Rails is as simply accomplished by making use of the install command provided by RubyGems. The syntax is “gem install rails”. Once it’s done with query the version yet again using the command “rails –version”. If you get a proper answer with the installed version number then you are ready to start developing in Rails.

Ruby follows the Model-View-Controller pattern
3. Creating your first application
Rails has a lot of scripts called Generators which can be used to create the entire folder structure and download all the dependencies along with it. If you wish to create a blog application in rails then type in “rails new blog” to create a blog application. This is a fully functional application which you can access by getting into the appropriate folder. In this case it will be “blog”.
4. Start a web server
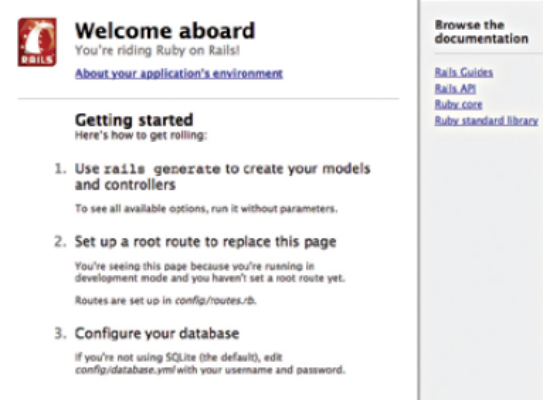
Since Rails is a server-sided language you need a web server running on your machine to actually run your application. Rails has its web server called WEBrick that can be run using the command “rails server”. Once the web server is up you can open any browser window and navigate to http://localhost:3000 to view your application.
You should see a Welcome Aboard page which makes sure that everything needed (Ruby, Rails and SQLite3) is installed properly and is functional.
Model-view-controller
Rails follows the MVC pattern which is about breaking the application down into three distinct segments.
Models are the Ruby classes that talk to the database and perform business logic and does most of the work.
Views are what the users get to see. This means, HTML, CSS, XML, Javascript etc are all part of Views.
Controllers do the work of communicating between the user and the application like managing cookies, user requests and submissions.
Following this basic pattern allows easy collaboration since everyone who is working on the application knows roughly where each portion of the code is stored.
Resources
Learning Rails is all about getting to know the different conventions that are followed. To make the job easier (since it is quite simple to get started with), we’ve curated a list of some popular online tutorials that are free and also quite lucid.
1. Introduction to Programming with Ruby
http://www.gotealeaf.com/books/ruby
2. Why’s (Poignant) Guide to Ruby
http://mislav.uniqpath.com/poignant-guide/
3. Learn to Program
http://pine.fm/LearnToProgram/
4. Learn Ruby the Hard Way
http://ruby.learncodethehardway.org/