An example of an Intent would be the EggRecipeFetcherIntent which would have a few sample utterances
like:
• Ask egginator for an egg recipe.
• Ask egginator how to cook my eggs.
• Tell egginator to suggest an egg recipe.
These utterances simply list a sample of sentences that trigger the EggRecipeFetcherIntent, and do
not need to be exhaustive. The Amazon Voice Interface automatically maps similar meaning sentences to the above and sends the appropriate intent to the backend.
It is also possible to ask for user input within an utterance using curly braces as placeholders for information. An example for such an utterance:
Ask egginator for an egg recipe that uses {ingredient}.
Here, the ingredient placeholder can be used to get information about a specific ingredient that the user wants to use in the recipe, which can then be used to better filter the results to be returned.
Once the required Intent(s) are created, click on the next button to create the Interaction Model. This takes a couple of minutes.
DESIGNING THE BACKEND (AWS LAMBDA)
While the Interaction Model is being generated, let us take a look at the backend. Although the Alexa Voice User Interface can interact with any https URL as an endpoint, it is recommended to use the AWS
Lambda function, as they provide a serverless infrastructure and only charge for compute time. In this example we will hence use an AWS Lambda function as the back-end for the Alexa Skill we’re creating.
To setup a Lambda function on AWS, create an account on the portal and login. After that, navigate to the AWS Lambda home page under Services->Lambda.
This will show the list of currently created lambdas under the current account. The top right area of
the screen has a button labelled Create a function, click this to create a lambda function. Once the button is clicked, a wizard opens up that allows the user to either use an existing lambda expression
as a template or start designing one from scratch. The advantage in using a template, of course, is the significantly less amount of effort required to re-factor it for a specific use case, and in most cases should serve as a great starting point for the back-end. Another adadvantage in using it is the pre-resolved dependencies like NodeJS libraries that we do not need to separately import in our function again.
To use an existing template, simply search for one with a keyword ‘eg: fact’ and click on the template to begin editing it. Name your new lambda function, set an AWS role that allows (at least) code execution and you are good to go!
The lambda function code should have your relevant Intent and a corresponding response based on the data received, eg: a request of Ask egginator for an egg recipe would be passed to the EggRecipeFetcherIntent intent which, once sent to the lambda, would fetch a recipe for an egg dish and send it as response. Once done, connect the code of the function to the Alexa Skills Kit from the next menu under Triggers. This will trigger the lambda function every time your Alexa skill is invoked.
Now copy the Amazon Resource Number (ARN) from the top of the page that uniquely identifies your lambda function and set it under configuration for the interaction model that you setup earlier. There are a couple of other settings that you can tweak here, like client Id and device permissions etc, but for now let’s go with the default values for them.
Clicking on ‘next’ will complete configuration and take you to the test page. Here you have the voice simulator and the service simulator that can be used to test your Alexa Skill. The voice simulator can process SSML or Speech Synthesis Markup Language that allows a number of modifications to the output speech including ‘speechcons’ that are special words and phrases that Alexa expresses in a more colourful way.
It can be used to test and tune the responses that Alexa outputs in response to different intents. The other part is the service simulator that receives a sentence as input and shows the equivalent requests and responses that the skill would generate for it. There is also an option to listen to the responses within the service simulator.
Thats it! You can now test and debug your Alexa Skill.
PUBLISH YOUR SKILL
Once you are satisfied with the Skill you can go ahead and publish it, hence making it available for everyone. To do this, move ahead from the Testing page by clicking the ‘next’ button and you will see the publishing information page. Here, enter a few details like a short and a full description of what your Skill does, where you want this skill to be available and a few sample phrases that can be used to interact with the skill. Once done, you can publish it by clicking on the Publish button. This sends the skill for review with the Alexa skill publishing team and you should hear back from them within a
week or so with either a confirmation of the publishing or a few pointers on how you can improve the quality of your submitted Alexa skill.
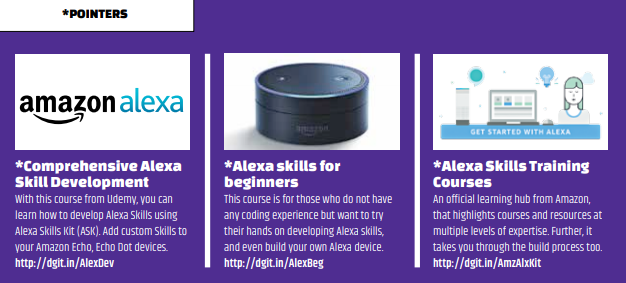
Congratulations! You have now successfully created and published your very own Alexa skill. Do check out some of the resources shared earlier in this article regarding Alexa skill development. When you’ve finally built yours, do let us know at editor@digit.in so that we can give it a shot.